17 Jun 2018
by pkortern
in 3 d project, Boxes, Card, Share Sunday
 With temperatures climbing into the 90’s today, I thought a pop up penguin card was appropriate! Think cool on this very warm day. I made this card with a stamp set and die set from Pink and Main. I colored the images with alcohol markers.
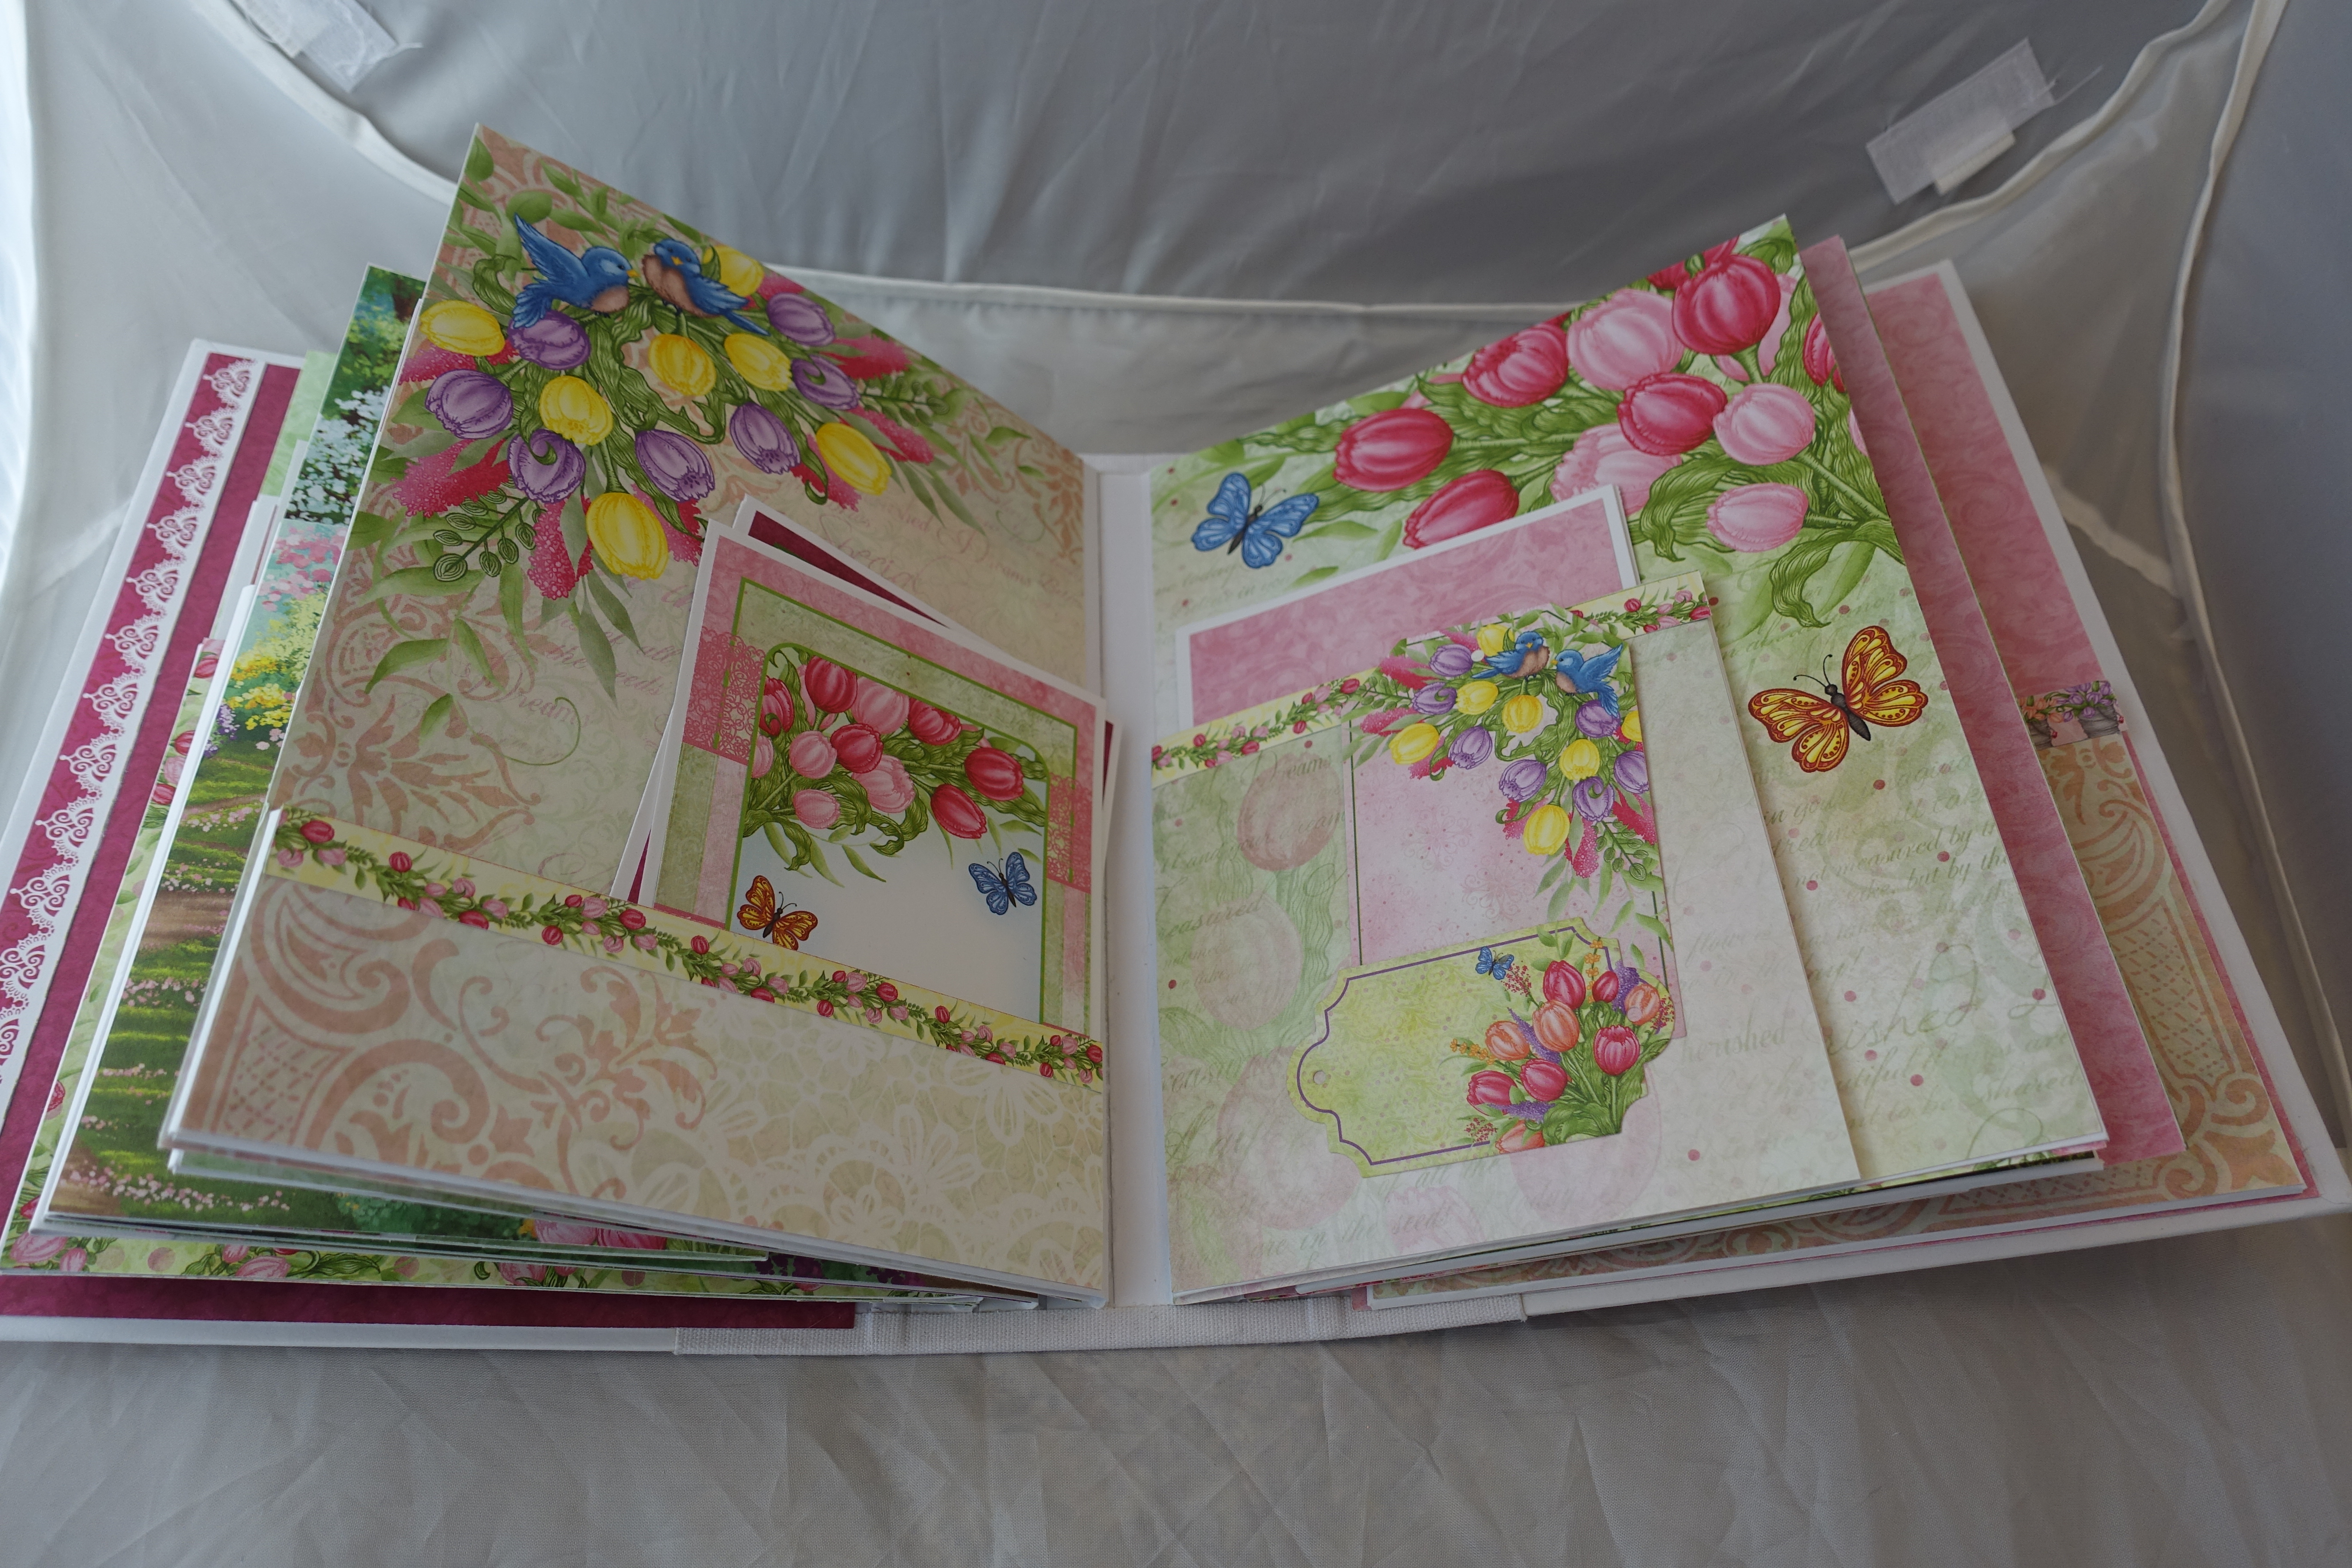
29 Apr 2018
by pkortern
in 3 d project, Heartfelt Creations, Share Sunday, Tutorial
Recently I had the opportunity to view the Heartfelt Creations online class on Classic Petunia Flowerpot. In the online class, Emma Lou in guides you through the steps of creating classic florals grouped together in a bouquet and added to the most adorable flower pot. Things that I learned included
- Learning stunning coloring and flower shaping techniques.
- How to pair group together classic florals to form a bouquet/
- Learning the basics for adding classic florals to florist wires
- Secrets to adding the perfect finishing touch that adds that sparkle, shine and stiffens the flower.
After watching the online class that is available at https://www.heartfeltcreations.us/shop/?tracking=5add3e34e7161 this is the petunia flowerpot I made. What do you think of my petunia flowerpot?


22 Apr 2018
by pkortern
in 3 d project, Heartfelt Creations, Share Sunday, Tutorial
This little handbag is the perfect gift bag and is made out of 12 inches x 12 inches card stock. Using a 12 inch square double sided card stock score down at 1/2 inch, 4 1/2 inches, 7 1/2 inches and 11 1/2 inches and fold on all score lines. Rotate the card stock 90 degrees and score at 3 3/4 inches and 8 1/4 inches. Fold on all the score lines. Turn 90 degrees and cut along the two vertical lines up to the first horizontal line. Turn the square and repeat for the other side. Fold up the two center pieces and fit and stick the outer pieces to create the box. Fold down along the scored tabs and stick down. Cut a 3 inches by 7 inches rectangle from the card stock and score at 3 inches and 5 inches. This piece will be the clasp. Shape the corners of the front of the clasp and valley fold on the score lines. Fit and mate the clasp onto the base of the handbag. Cut two strip of 1/2 inches x 11 inches from the paper to create the handles. Attach the handle to each corner with brads. Add a magnet to the front of the bag and underneath the clasp to create the closure. I decorated mine with a rose. What do you think of the handbag?

Botanical Rose Cling Stamp Set https://www.heartfeltcreations.us/shop/?tracking=5add3e34e7161
Botanical Wings Die Set https://www.heartfeltcreations.us/shop/craft-dies/dies-that-match-stamps/botanical-wings-die?tracking=5add3e34e7161
11 Mar 2018
by pkortern
in 3 d project, Boxes, Card, Rubber Stamp Tapestry, Share Sunday

 This is a a set of 3 inches by 3 inches note cards and note box that was fun to make and is a great gift for any occasion.
Supplies
Rubber Stamp Tapestry Bunny Garden Peg Stamp Set
Other Supplies
Stampin Up Pacific Point Ink
Stampin Up Old Olive Ink
Stampin Up Pacific Point Card stock
White Card Stock
Ribbon
Glue
Score board
Paper cutter
Directions
- Cut a 7 1/2 inches square piece of card stock for the base of the box. Score the 7 1/2 inches square card stock on all four sides. Using scissors make vertical cuts on the scored line on all four sides to create a flap in each corner of the 7 1/2 inches square card stock piece. Glue each corner flap on the 7 1/2 inches square card stock and fold into a box.
- Cut a 5 1/8 inches square of white card stock for the box cover. Stamp the stem of the flowers randomly in Stampin Up Old Olive ink and stamp the flowers in Stampin Up Pacific Point ink. Score the paper at 3/4 inch on all four sides. Using scissors make vertical cuts on the scored lines on all four sides to create a flap in each corner of the 5 1/8 inches square card stock piece. Glue each corner flap on the 5 1/8 inches square card stock and fold into a box top.
- Cut six pieces of Stampin up Pacific Point card stock at 3 inches by 6 inches. Score the card stock at 3 inches to form 3 inches by 3 inches note cards. Cut six pieces to Pacific Point card stock at 2 1/2 inches by 2 1/2 inches.
- Cut twelve pieces of white card stock at 2 3/4 inches by 2 3/4 inches and six pieces of white card stock at 2 1/4 inches by 2 1/4 inches.
- On the 2 1/4 square white card stock stamp a row of stems in Stampin Up Old Olive ink and row of flowers on top of the stems in Stampin Up Pacific Point ink as per the picture.
- Glue the corresponding card stock pieces in order to form framed note cards per picture. Glue a white piece of card stock into the inside of each note card.
- Place completed note cards and envelopes in the box. Tie white ribbon around the box.
What do you think of the project? This would be a wonderful gift for Easter or Mother’s Day. I am entering the cards and note card box in A Gem of A Challenge Mother’s Day Challenge.
Previous Older Entries